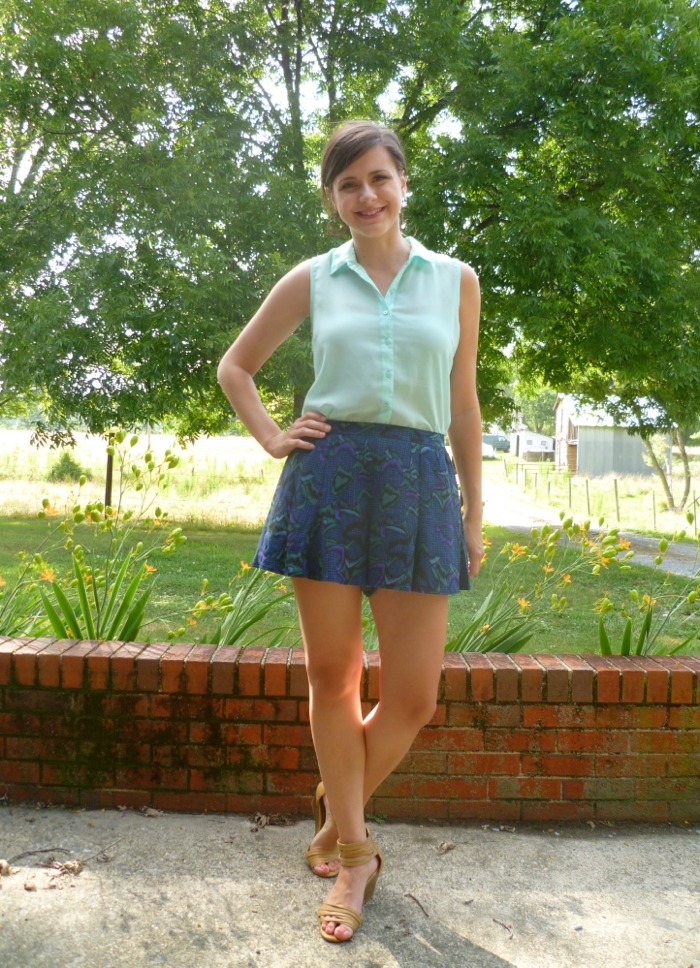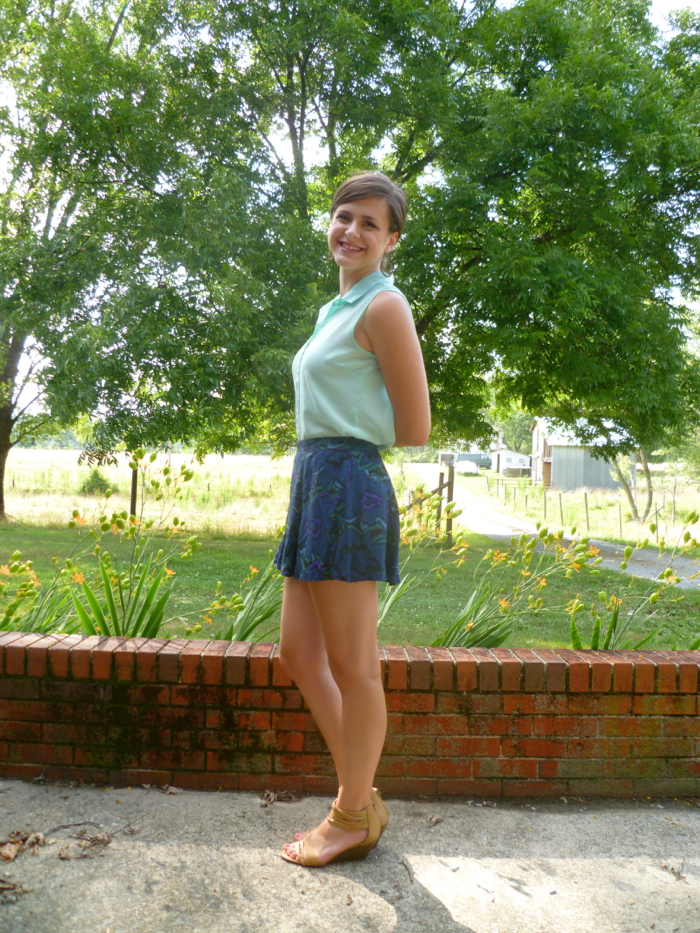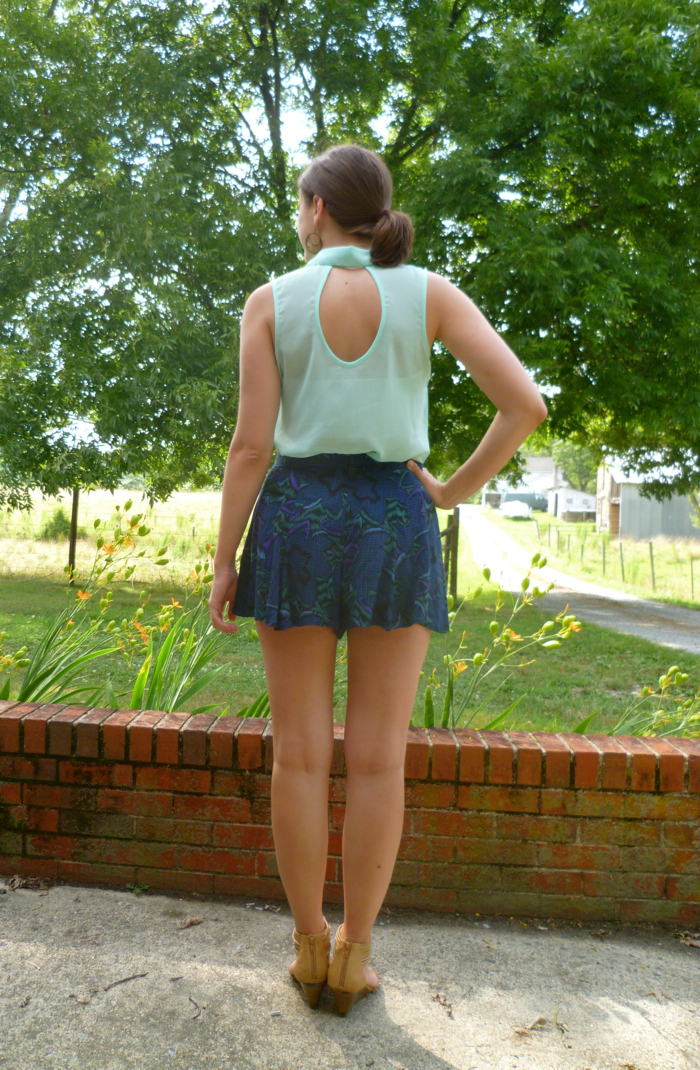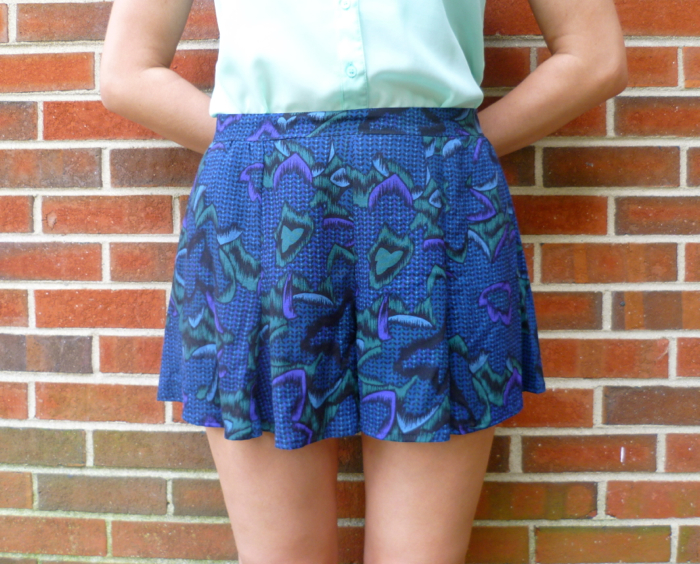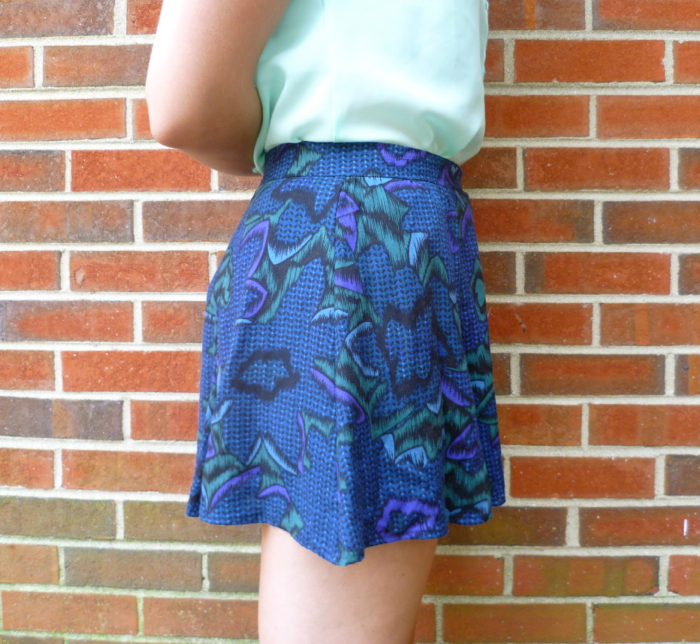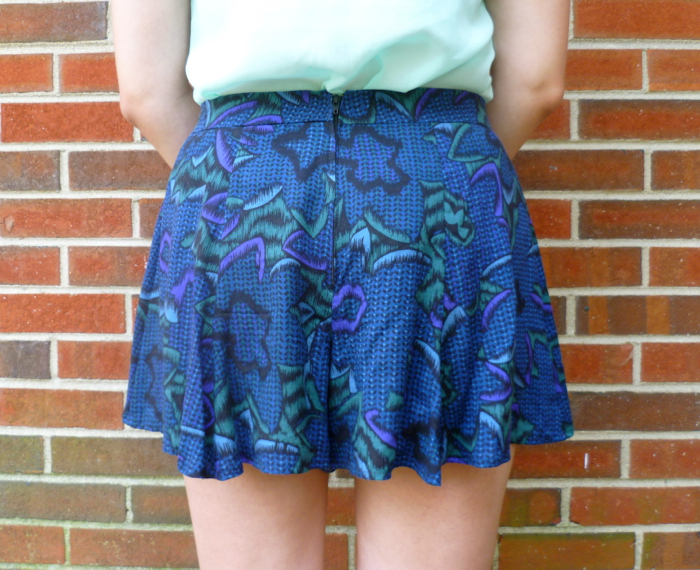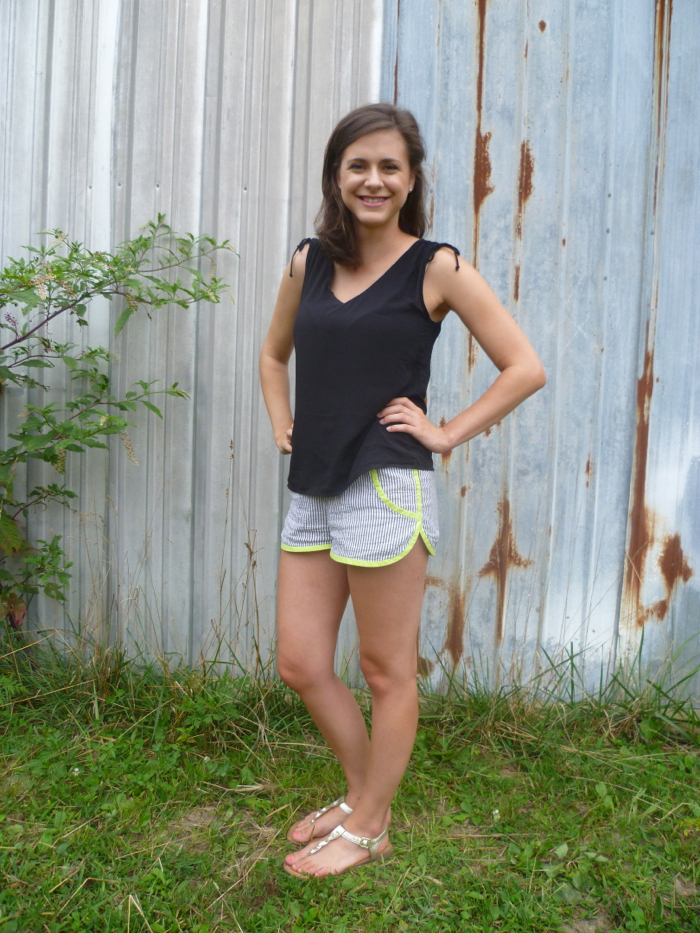
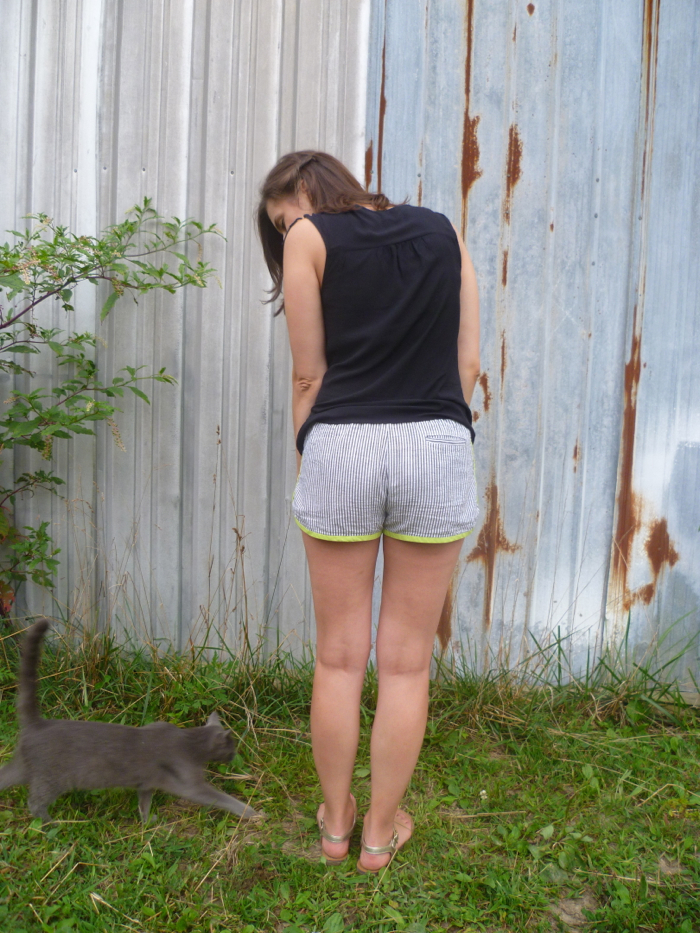
According to Instagram, I finished these shorts 8(!!!) weeks ago. First of all, AHH where has this summer gone?! I can't believe it is already August. Second of all, why in the world has it taken me so long to blog about them? Well, because for the past 8 weeks, if I haven't been wearing these shorts, they have been hanging out with the rest of my dirty clothes waiting for laundry day. As soon as they are clean again, I wear them to go do this or that or the other and they are right back in the hamper. It's been a vicious cycle that hasn't exactly lent itself to good photo opportunities, but the cycle has finally been broken and I officially have some non-iPhone pictures. Yayyy!
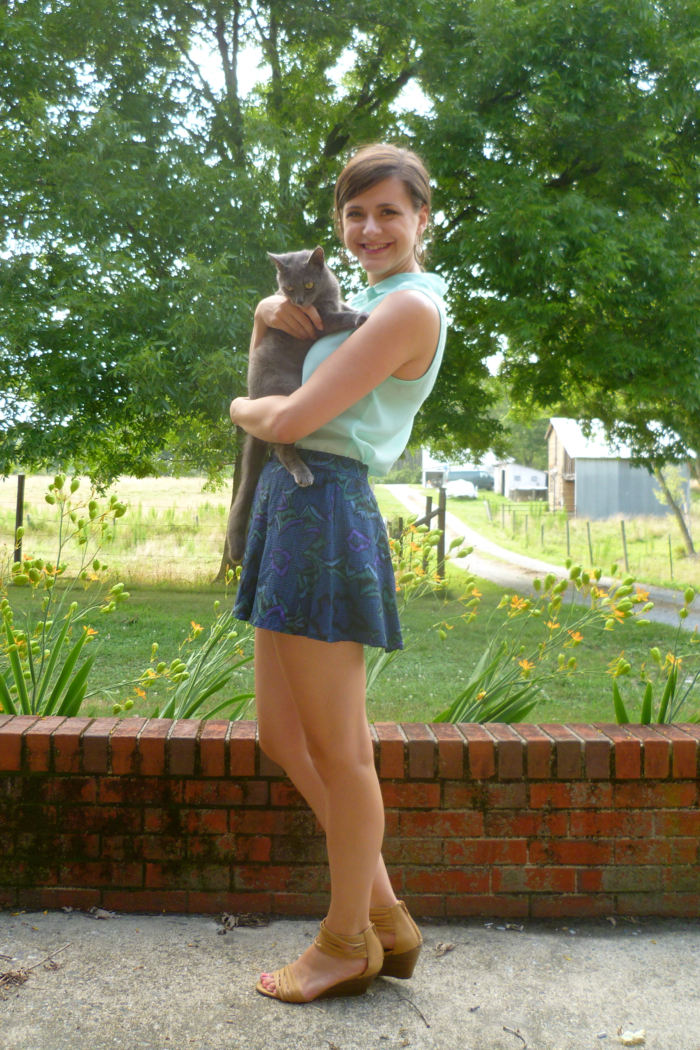
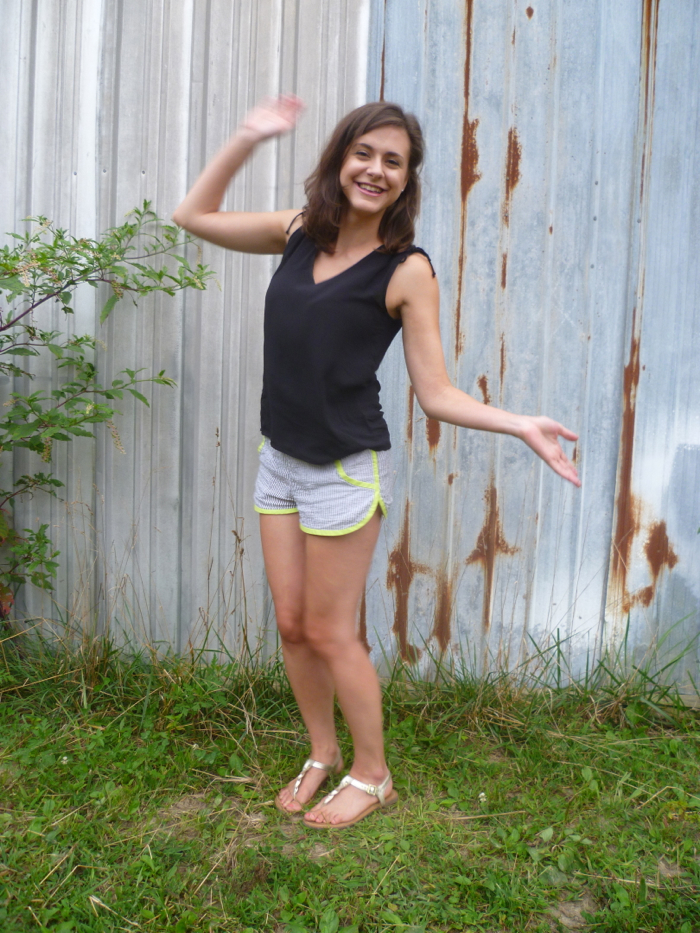 Speaking of pictures, I want to say a little bit about these. Usually I take my pictures in the morning when everyone else is at work. This typically works better with my schedule, and to be honest when I get home from work I'm not usually in the mood to get dolled up and smile for the camera. Because everyone else is at work, it's just me, my tripod, and the self timer. The whole process takes a while and I end up with a lot of super pose-y pictures. This session was a little different because I did wait until later in the evening and my sister was around to snap them. We had a blast and she saved me so much time! Some of them are kinda crazy and of course LuLu joined in on the fun. Oh and that barn I'm standing in front of and that field I'm standing in? My front yard! Good photo backgrounds at your doorstep are one of the perks of living out in the country on a farm.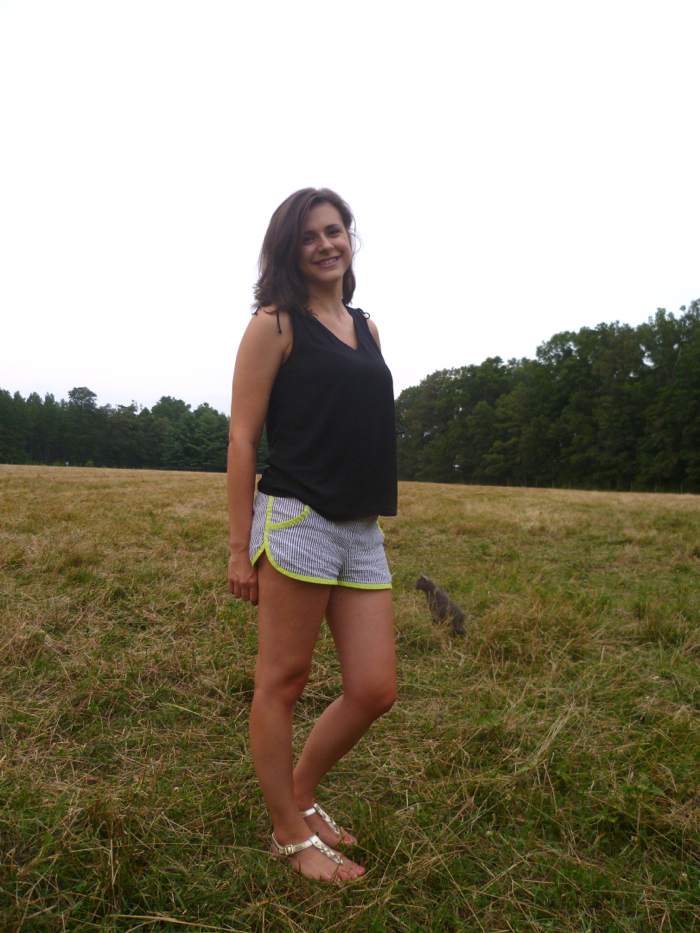
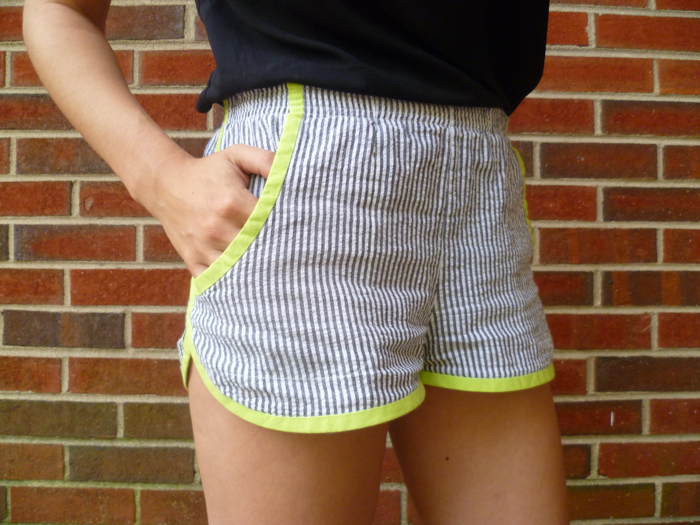
But about these shorts... I freaking love them. You might recognize them as the Prefontaine Shorts for Women by Made with Moxie, otherwise known as one of my favorite patterns of all time. These were actually the first pair I made; the second I made for my sister and are unblogged (but you can check them out on Instagram), the third were this festive pair I made for the Fourth of July, and I might actually have a fourth pair cut and waiting to be sewn up. "Hi, my name is Sarah Jean, and I'm a Prefontaine Shorts-aholic." Seriously, I can not say enough good things about this pattern. But let's talk about this pair in particular.
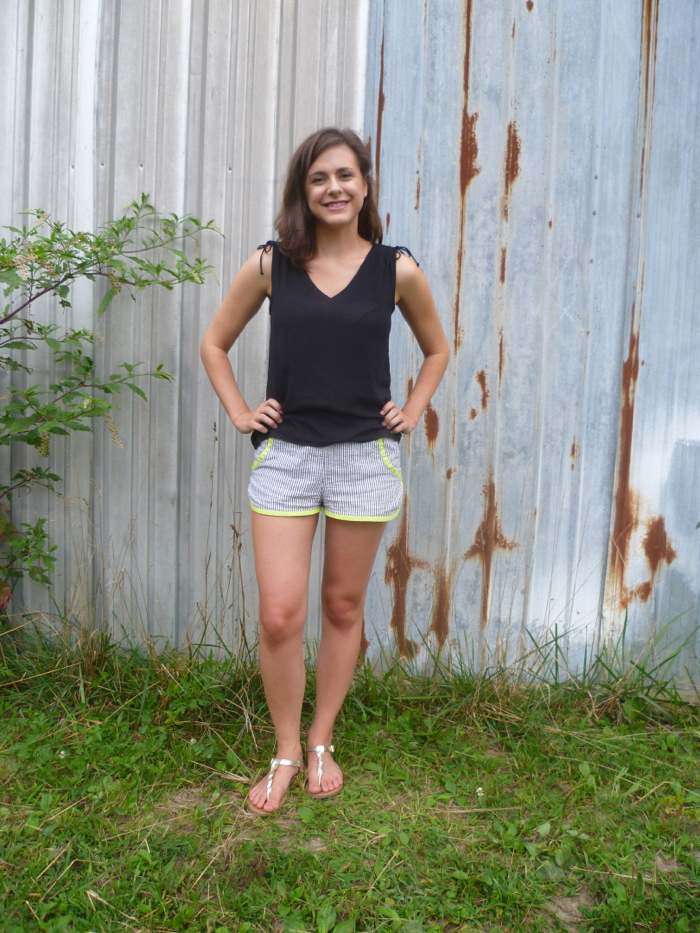 When I saw these pants at J.Crew, I had one of those "Why didn't I think of that?" moments. To me, seersucker and neon are the perfect mix of classic and fun, and I just knew I was going to have to use this combination somewhere for something. Then the Prefontaine Shorts pattern was released as part of Perfect Pattern Parcel #3, and its like the sewing gods were telling me I had to have a pair of seersucker and neon Prefontaines. I got this black and white seersucker from Joann's. It is a little thin and the weave is a little loose, but it is light and airy, perfect for a hot and humid Virginia summer. The bias binding trim is handmade using a lime colored quilting cotton from Hancock Fabrics. It's not exactly neon, more of a lime green, but I think it works, and neon colored fabric that isn't nylon is really hard to find.
When I saw these pants at J.Crew, I had one of those "Why didn't I think of that?" moments. To me, seersucker and neon are the perfect mix of classic and fun, and I just knew I was going to have to use this combination somewhere for something. Then the Prefontaine Shorts pattern was released as part of Perfect Pattern Parcel #3, and its like the sewing gods were telling me I had to have a pair of seersucker and neon Prefontaines. I got this black and white seersucker from Joann's. It is a little thin and the weave is a little loose, but it is light and airy, perfect for a hot and humid Virginia summer. The bias binding trim is handmade using a lime colored quilting cotton from Hancock Fabrics. It's not exactly neon, more of a lime green, but I think it works, and neon colored fabric that isn't nylon is really hard to find.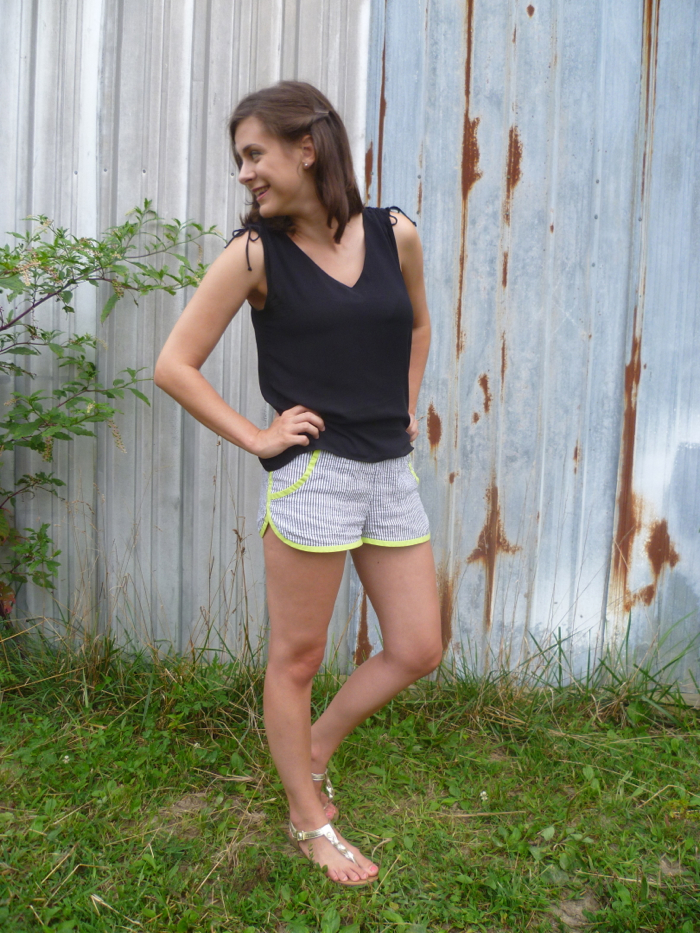
This was actually my first experience making my own bias binding, and I think it went ok. I used this tutorial from Prudent Baby. While in the end everything turned out fine, I still have some fine-tuning to do with the process, mostly with getting all the lines to line up right after sewing the two sides together. Anyone have any tips for making your own bias tape? I actually didn't fold and press the tape before sewing. Instead, I followed the pattern directions as if I were using the t-shirt bias tape. This saved me a lot of time and hassle and it worked perfectly.
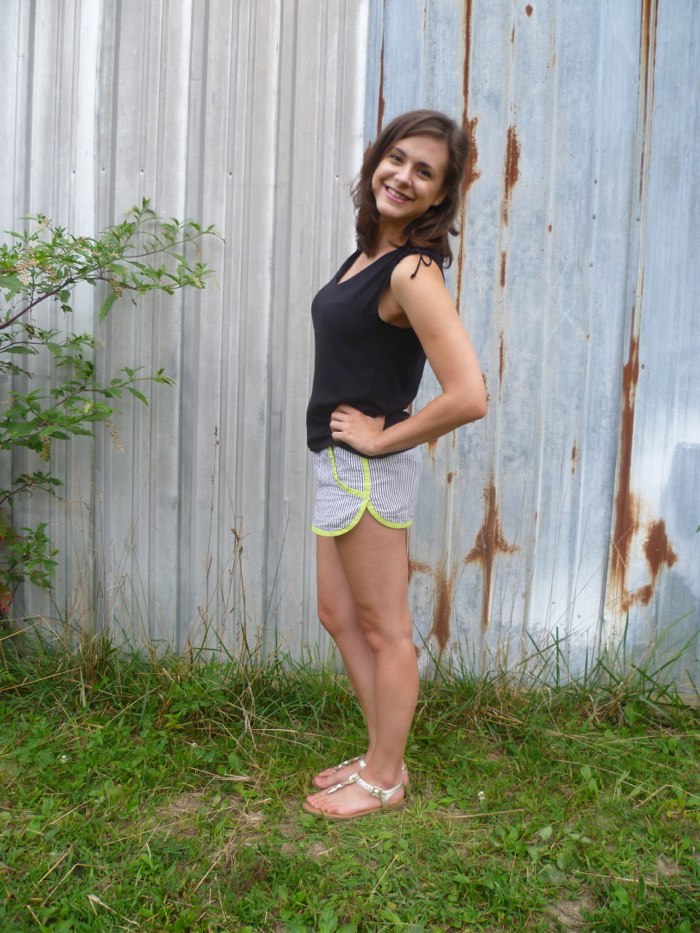
As far as sizing goes, I made a size 2 with the short inseam. One of the things I love about this pattern is that it fits in the hips and the waist on me. I have, like, zero hips, but a normal sized waist, so most shorts/pants that fit in the hips are too small in the waist and if they fit in the waist then they are too big in the hips. Definitely not one of the worst problems to have, but the elastic waistband really helps these shorts fit me in both places without any alterations. Like I said I chose the short inseam, and I would say it is probably pretty short for most people. I like my shorts short so it works just fine for me, and it's perfect for pajamas or a swimsuit coverup.
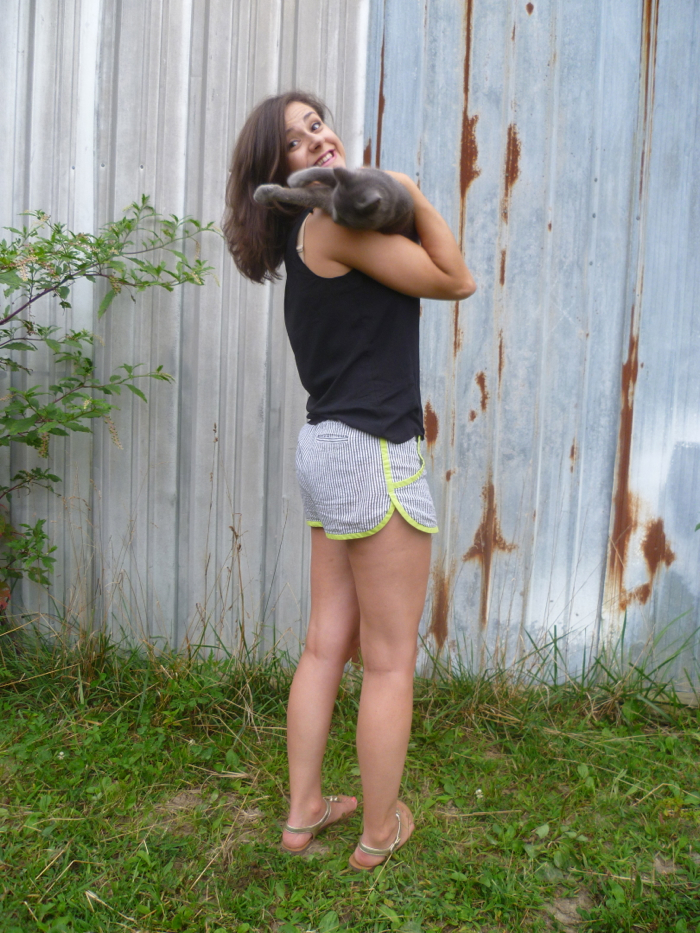
I kept the front pockets on this pair, and went with the welt pocket on the back. Instead of using the neon for the back pocket trim, I just used the seersucker but cut it on the crossgrain so the stripes ran horizontally instead of vertically. I also took the time to match up the stripes on the front pieces and the pocket. I know it probably would have barely been noticeable if I didn't, but having control over little things like that is one of the reasons I really enjoy making my own clothes so I think it's worth the extra effort.
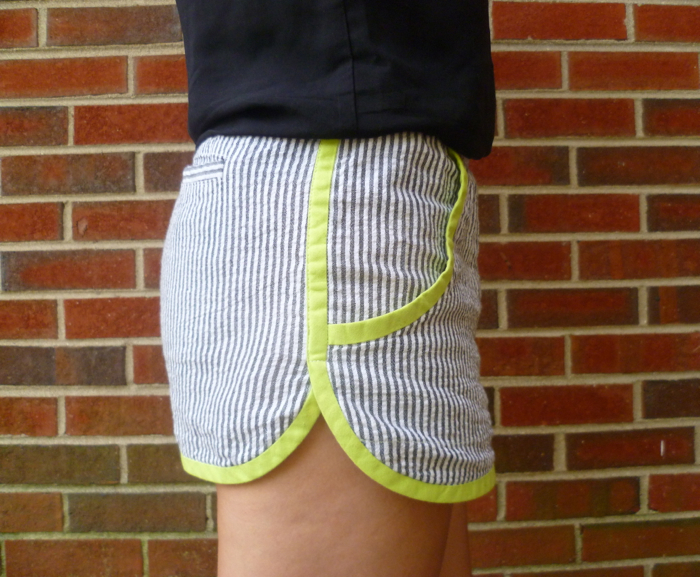
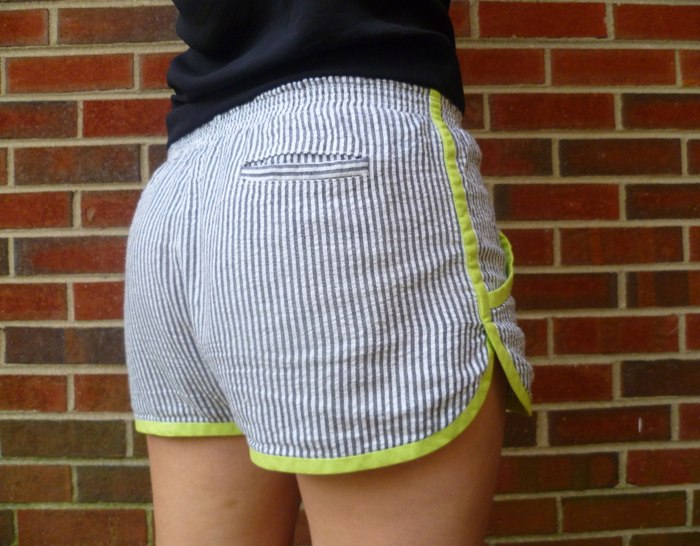 Per usual I used French seams wherever I could (still serger-less over here). For the pocket edges and the sides that didn't get binding I just used a simple zig-zag stitch. For the waistband I used the exposed sport waistband method from the pattern. This was also my first experience with such a waistband, and I wish I had more to say about it but I just followed the directions in the pattern and it turned out great.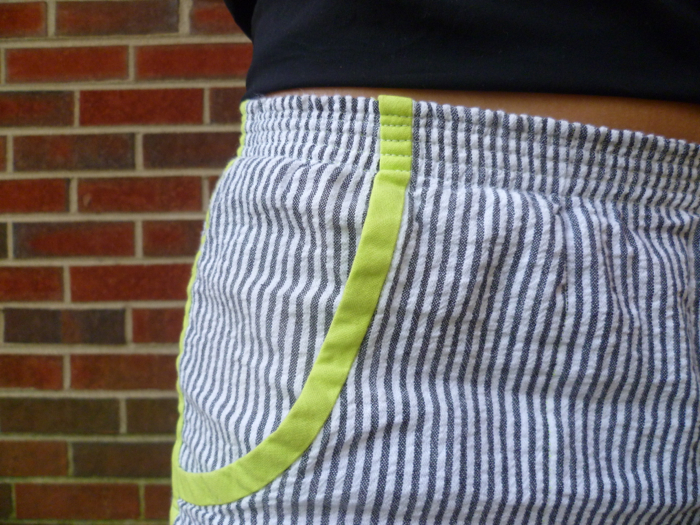
I could seriously wear these shorts all day, everyday. They are super comfy without looking frumpy and they sew up so quick and easy, I really just can't get enough of them! So far I have worn them out around town, I've worn them to work (love our dress code), I wore them for a 4 hour car trip to the beach back in June, I sleep in them all the time, and I wear them around the house on a regular basis. They easily win the award for most versatile item of clothing in my wardrobe. I just wish I had the time and fabric budget to sew them up in all of the fabric and color combinations I've imagined. For now, I guess I'll just give the ones I already have cut out some attention :)

I'm entering this project as part of the Summer 2014 Shorts on the Line Sewalong. Be sure to vote for my project, and all of your favorites, on Kollabora! Just click the little heart icon on the right hand side of the page to vote.