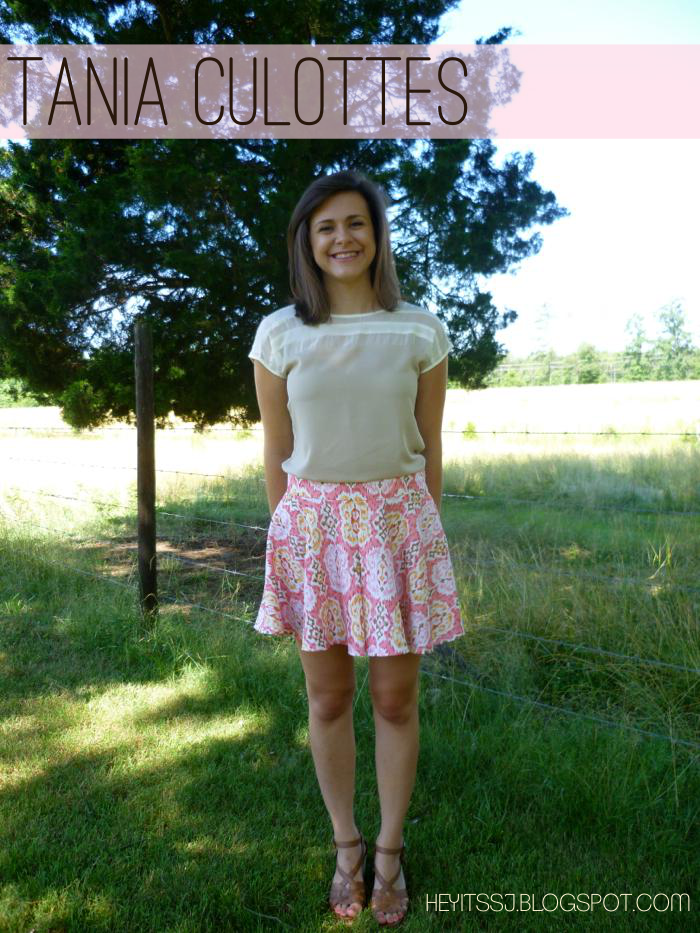
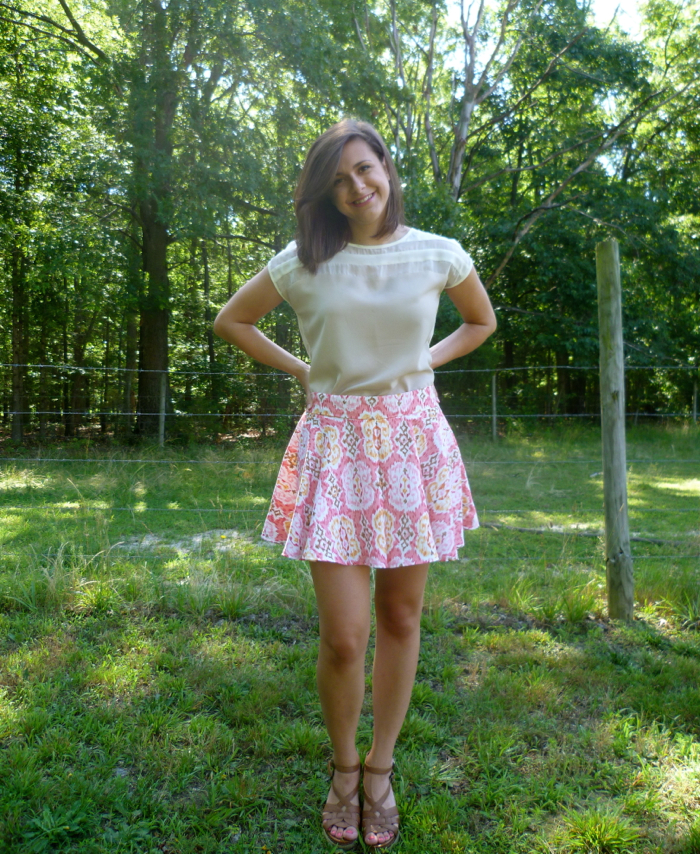
You guys, I am OBSESSED. Culottes, where have you been all my life??!!
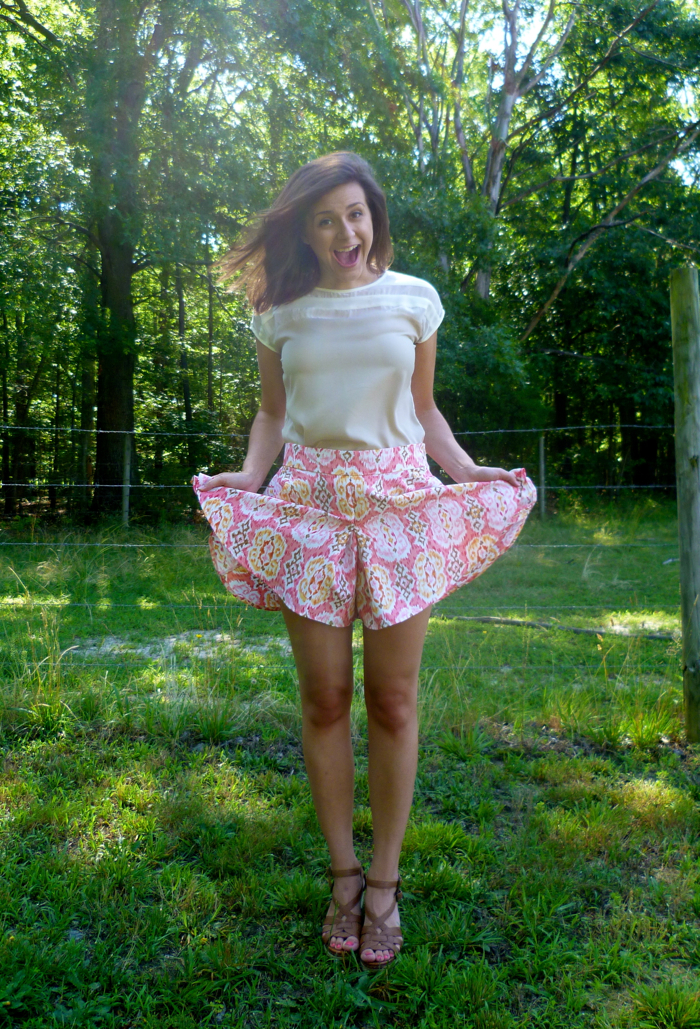
I'm a late 80s baby, so I had no idea what culottes were before I found this pattern. If you, like me, are unfamiliar with culottes, let me tell you what you need to know: They are awesome! And in more descriptive words, they look like a skirt...
I'm a late 80s baby, so I had no idea what culottes were before I found this pattern. If you, like me, are unfamiliar with culottes, let me tell you what you need to know: They are awesome! And in more descriptive words, they look like a skirt...
But they are actually shorts!
Women in the Victorian Era started wearing culottes so that they could maintain their modesty and still look like a "lady" while doing things like horseback riding. Nowadays I don't think us girls are going to get any weird looks for wearing pants while we ride horses, but I still love culottes for similar reasons: I can look girly and "cute" without worrying about giving anyone a free show!
Now, about this amazing pattern... Megan Nielsen’s Tania Culottes pattern has made quite a way around the blogosphere, and for good reason. It is relatively simple and quick to put together, but the finished product is polished and fun. This was my first time sewing a pattern by an independent designer and I was not disappointed. I wouldn’t say the instructions are as thorough as some commercial patterns (there isn’t a glossary of sewing terms and it doesn’t walk you step-by-step through installing a zipper, for example) but with some basic garment sewing knowledge and the Internet, the pattern came together without issue. It’s also cool knowing that my purchase supports an independent designer!
One of the biggest differences I found between the indie pattern vs. a commercial pattern was in the sizing. Commercial patterns are notorious for having a ton of ease, while indie patterns tend to be more true to size. Knowing this, I made a muslin before cutting my fabric and I’m glad I did. I cut a small waist with the medium inseam and realized that it was going to hit a little higher on my waist than I wanted. So I ended up cutting the large waist but kept the crotch length and inseam a small, essentially making the shorts a lower rise. The finished waistband sits about at my bellybutton, and the hem falls around my upper mid-thigh. The next time I use this pattern I will probably cut a medium waist with a small crotch length and inseam, as I have just a little bit more room in the waist than I would like.
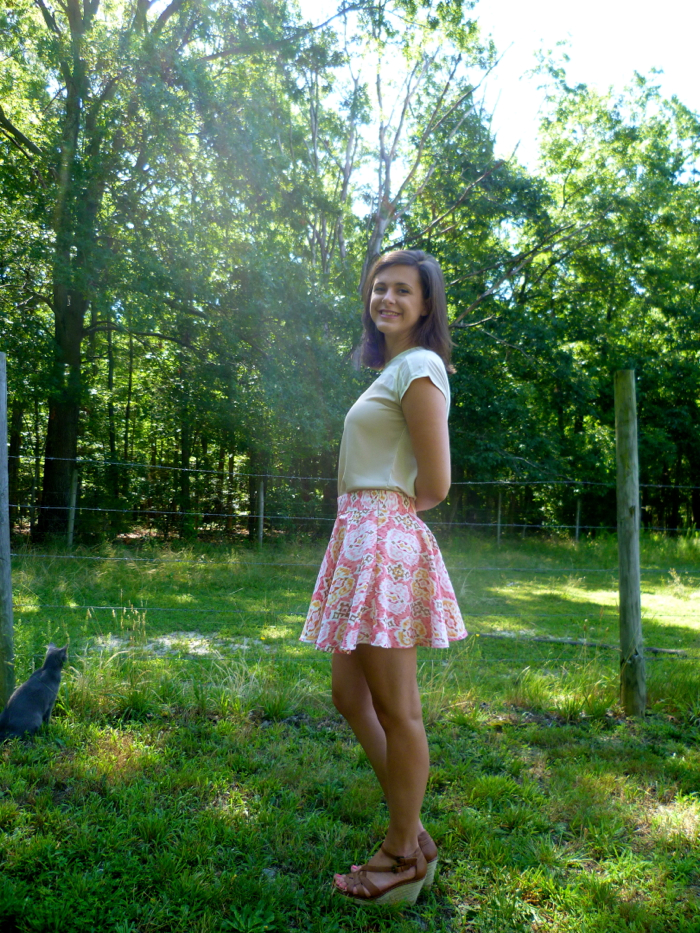
Check out little LuLu back there keeping a watch out. She did not leave my side the entire time I was taking these pictures. I'm actually surprised she didn't end up in more of them! Anyways, back to the sewing...
Unfortunately, Richmond is kind of lacking in apparel fabric store options (home décor and quilting fabric stores abound, though). I found this silk-look polyester at my local Hancock Fabrics. It is a medium-weight fabric with a little bit of texture on the right side (similar to a dupioni) and the wrong side is satin-y. I try to avoid sewing with polyester when I can, but it does have a couple benefits: 1) It is easy to care for; I just threw it in the washing machine using cold water on a delicate cycle, and dried it in the dryer on low heat to pretreat and the fabric still looks brand new and 2) No wrinkles! I didn’t even have to press it after I pretreated it, so I expect the skirt to wear very well (and so far it has).
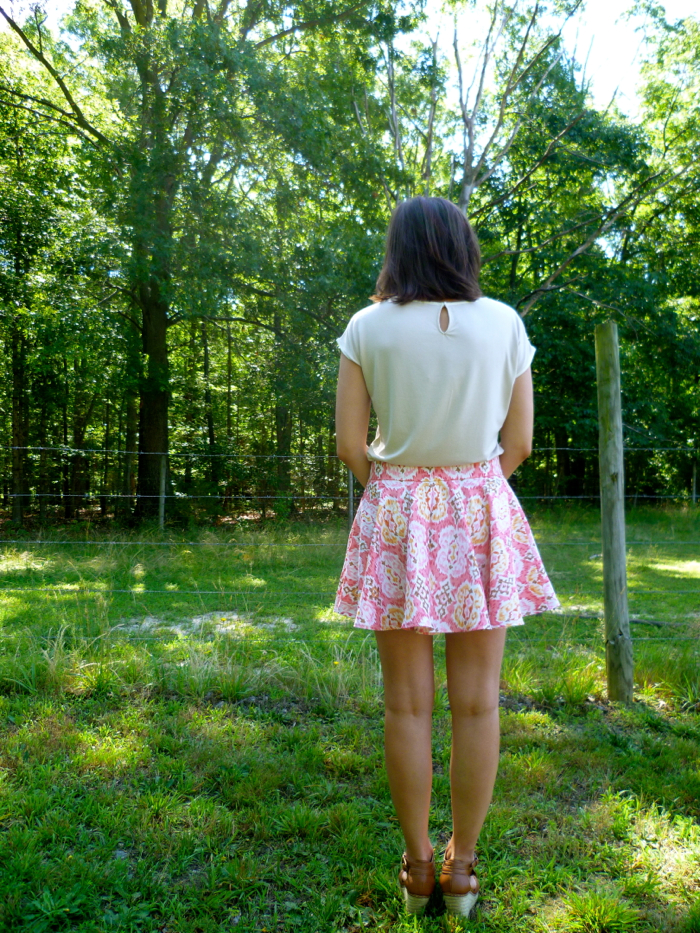
The instructions that came with the pattern were very easy to follow and I didn’t deviate from them too much. I don’t have a serger and the polyester frayed like crazy, so I used French seams. Jen at Grainline has an awesome tutorial on French seams that I refer to when I need a refresher. Because of the French seams I switched the order of the crotch and pleats, simply sewing the crotch together before sewing the pleats.
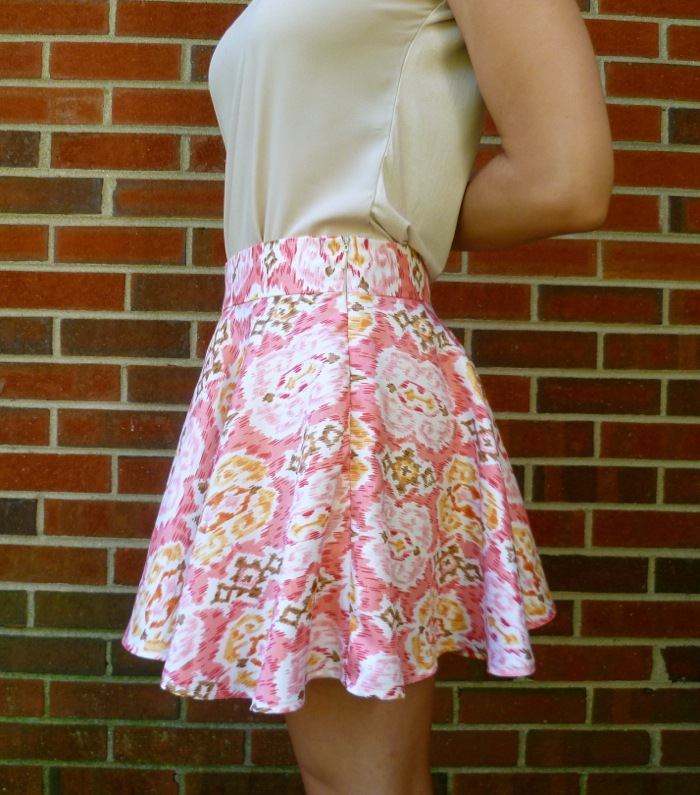
Unfortunately, French seams and zippers do not go together, so I had to change things up a bit for that seam. I inserted an invisible zipper using this amazing tutorial from Sew Serendipity, then finished the raw edges with 2” strips of fabric double folded. You can see (or can you?) the invisible zipper in the photo above. For only my second one ever, I am very pleased with how it came out!
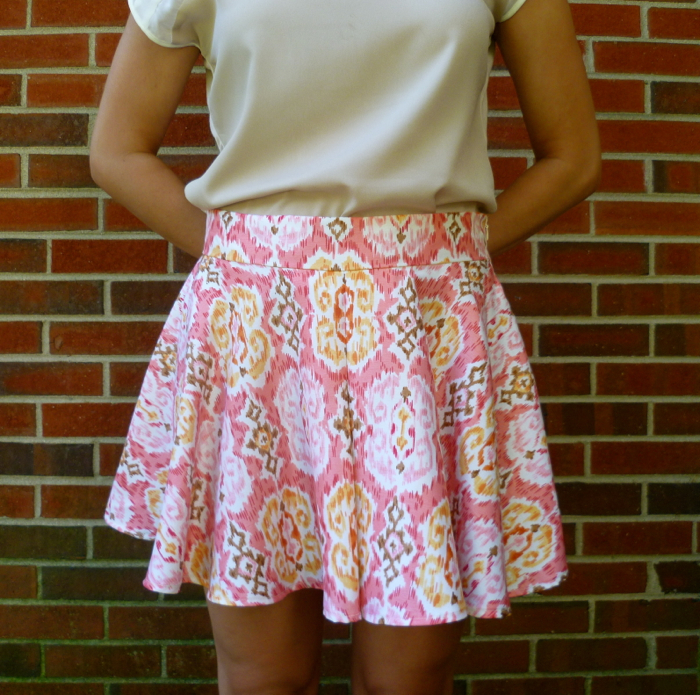
So about that hem… Because the “legs” are essentially two circle skirts, parts of the skirt are cut on the bias. To make sure the skirt did all its stretching before I hemmed it, I put the skirt on a hanger and let it hang for at least 24 hours before sewing (while I worked on another pair of culottes, of course). Boy did that thing stretch all kinds of out of shape! I did my best to even out the hem and the sewing itself was rather uneventful. It was quite a bit of hemming, though, so it was a little time consuming. When it’s hanging on the hanger or laying flat it looks pretty good, but looking at the pictures I think there is some room for improvement. I will probably take at least one of them out and try to even it out a little more, because I’m a masochistic perfectionist, obviously. Also, for some reason I think the uneven-ess is super exaggerated in the above picture; it doesn't look perfect "in real life" but I really don't think it's as bad as that picture suggests.
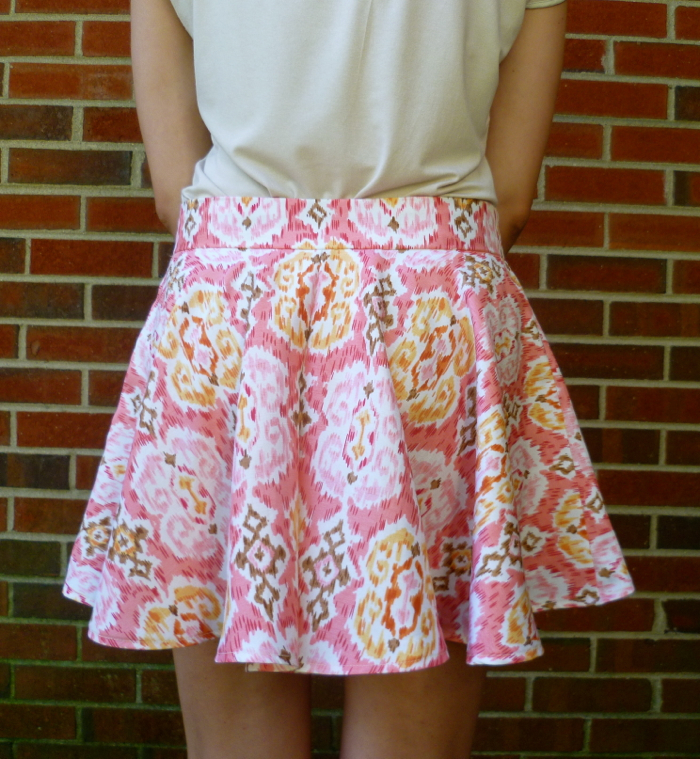
Cost Break-down:
$12.00 for PDF pattern
$11.00 with tax for 1.5 yards of fabric on sale for $6.99/yard
$3.00 with tax for 9” invisible zipper
Total: $ 26.00
Less than $30 isn’t too bad for a brand new pair of culottes that are definitely a new summer wardrobe staple for me! Have you sewn an indie pattern before? Who are your favorite indie designers? Do you have a favorite wardrobe staple for different seasons? I’d love to hear about it in the comments!

