
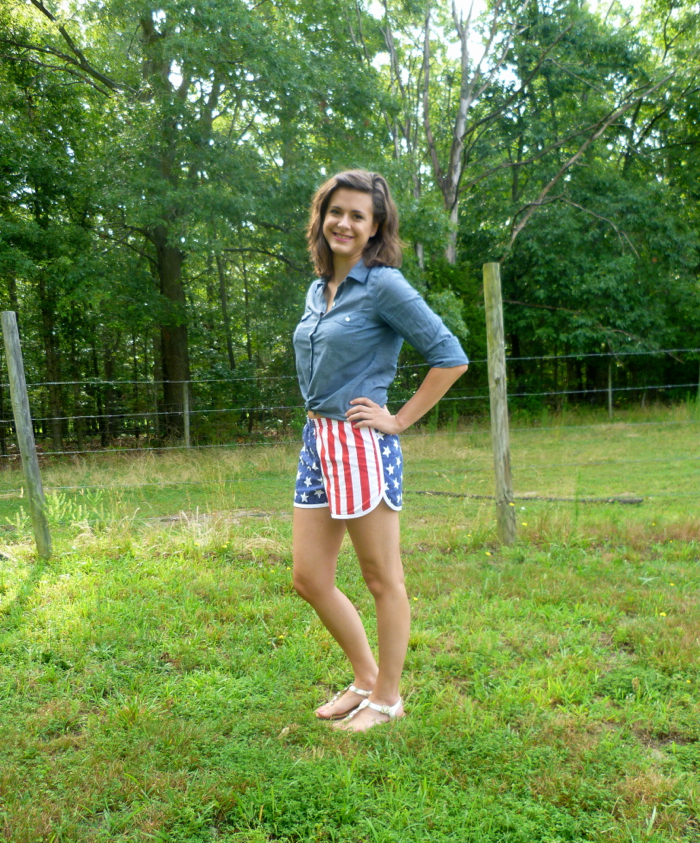
I have really been feeling the American pride this week. Between the big soccer game on Tuesday and Fourth of July weekend coming up, I feel like all I see and think about is red, white, and blue (not that I am complaining). However, my one pair of American flag shorts just wasn’t going to cut it for this week full of patriotism. I thought some stars and stripes would perfectly complement Made with Moxie’s Prefontaine Shorts for Women pattern, and I think I was right!
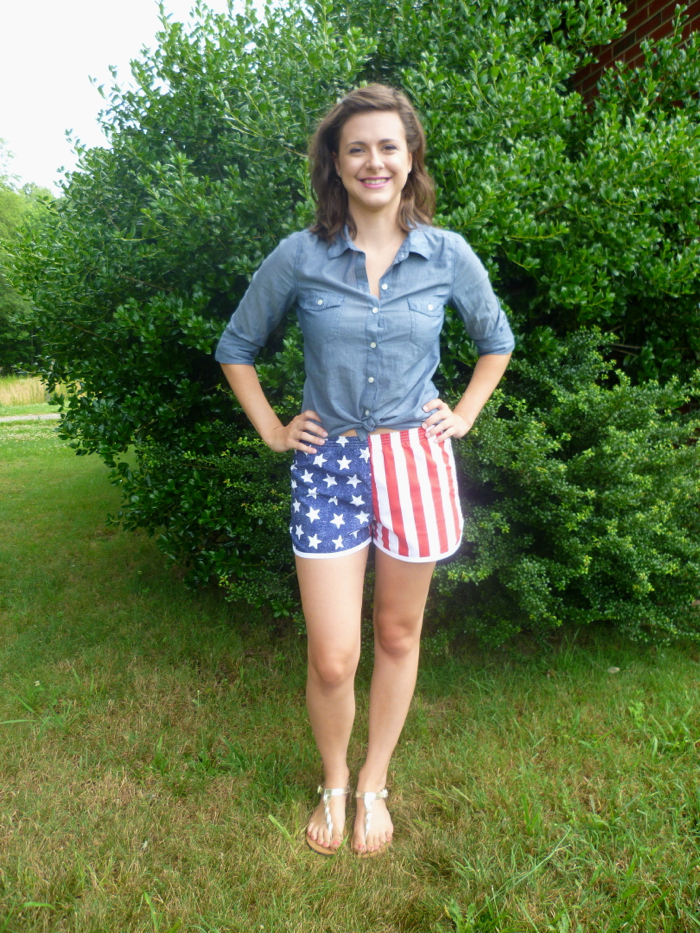 Plain and simple: I love this pattern. These are actually the third pair I’ve made; I’m still working on posts for the first two put you can check out pictures of them on Instagram. The star fabric is Michael Miller “Star Struck” and the stripe is a “1 Inch Stripe” from Riley Blake (I got both from Fabric.com). Both are quilting weight cottons, and I think they look fabulous together if I do say so myself.
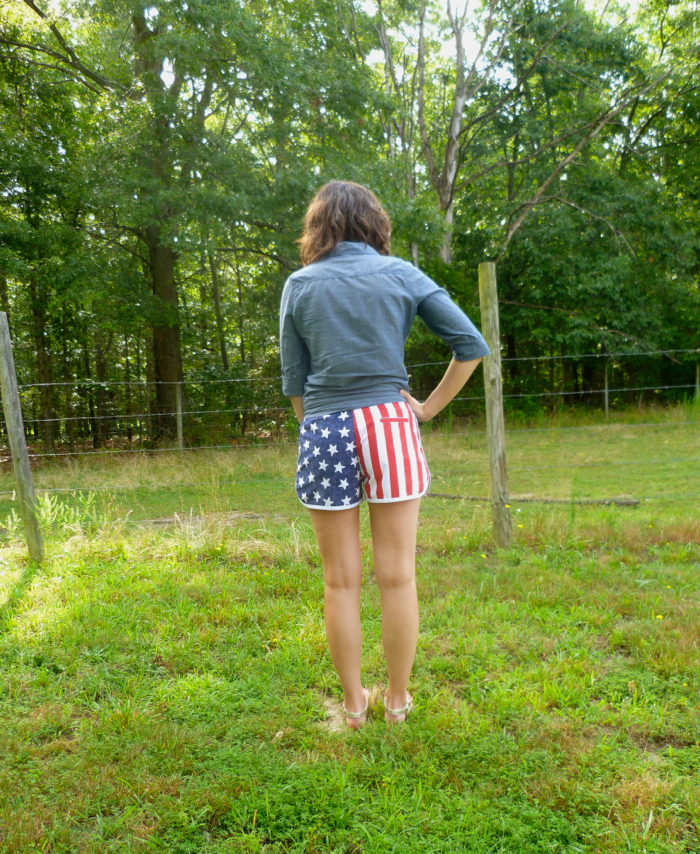 I decided to keep the inseam on this pair a little longer than the first two pairs I made and shortened the longer inseam from the pattern by about an inch. To do this I cut along shortening line number one printed on the pattern. Then I measured up one inch from the cut line on the main pattern piece and drew a line. I then cut along shortening line number two on the pattern pieces and aligned the curved corner piece with the line I just drew and the pattern sizing lines. I took the piece with the crotch seam and aligned it along the line I drew. The crotch seam line didn’t align perfectly, but I just eyeballed it and redrew the curve and it turned out fine. I did have about a quarter inch gap between the two pieces that I just filled in with more paper, no biggie. I really like this length; it isn’t too long but still feels modest.
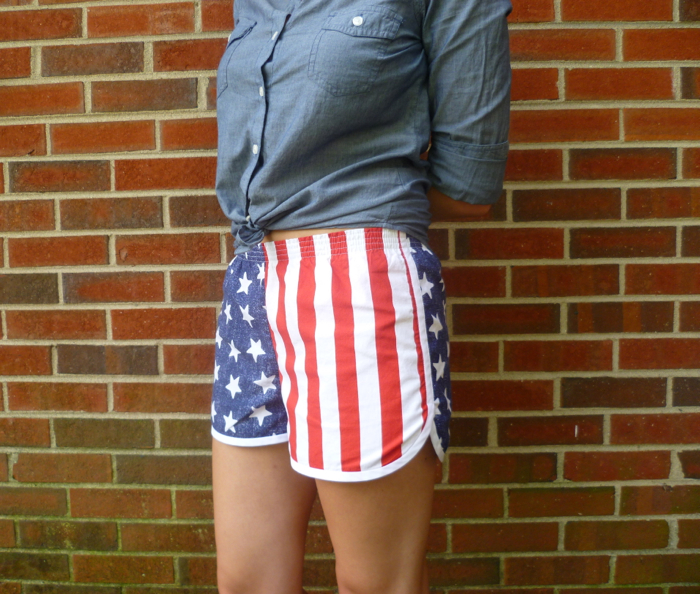 I left the front pockets off of this pair, partly for the sake of time and partly because I like the prints not being broken up by the binding on the pocket. If I was really adventurous I could have finished the pockets with a regular lining instead of the bias tape and lined up the prints so the pockets essentially became invisible. But I didn’t, and I still love how they turned out.
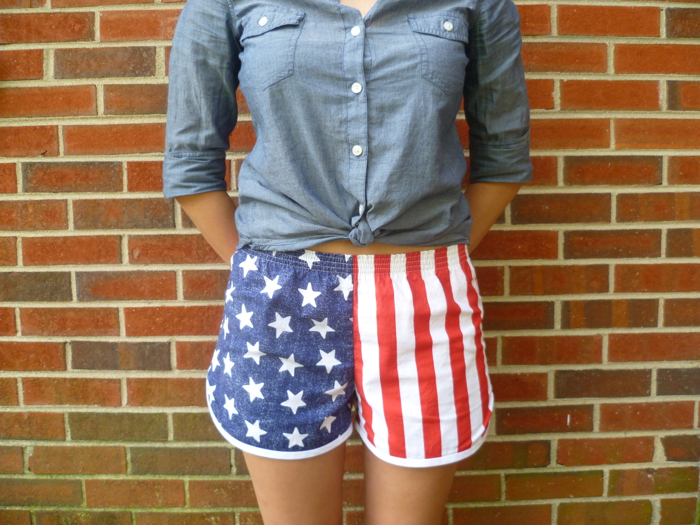 I did keep the back pocket for functionality’s sake. I mean, it is designed to perfectly fit my iPhone so it’s genius and I love it. Instead of trimming the top of the pocket with the white bias tape I used on the rest of the shorts, I just took a scrap of the striped fabric and sewed/folded it so that only the red was showing. I cut the two pocket pieces from scraps of a white sheet that I used for another project, and the white bias tape is store bought (again to save time and because I was too lazy to make my own).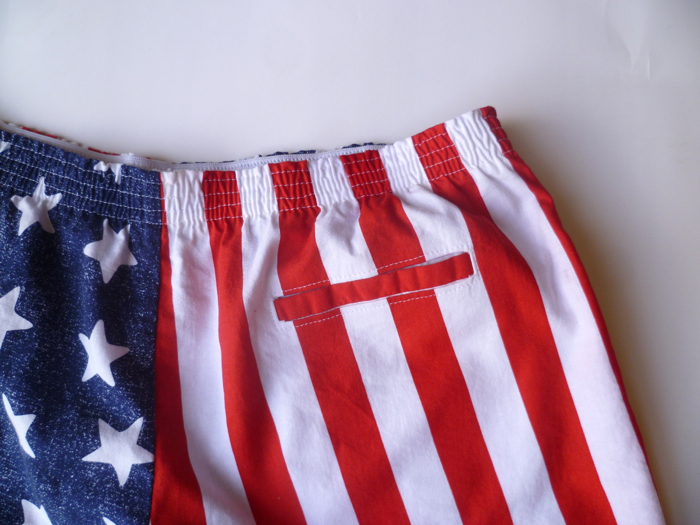
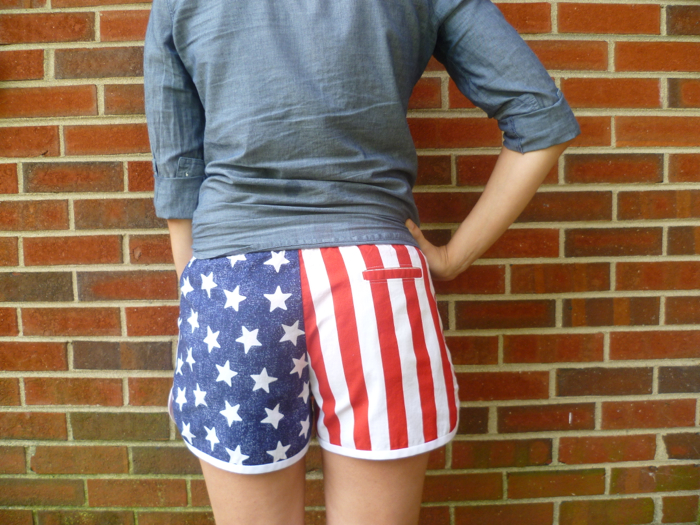 I used French seams on all of the inside seams, and since I don’t have a serger I just finished the raw edges of the pocket pieces and side seams with a zig-zag stitch. I used the exposed sport waistband on these and the other two pairs I made because I think it looks more professional and RTW-esque, and it is super easy! It might take a little longer than an encased waistband because you have to sew at least 4 lines of stitching, but I think the end result is totally worth it.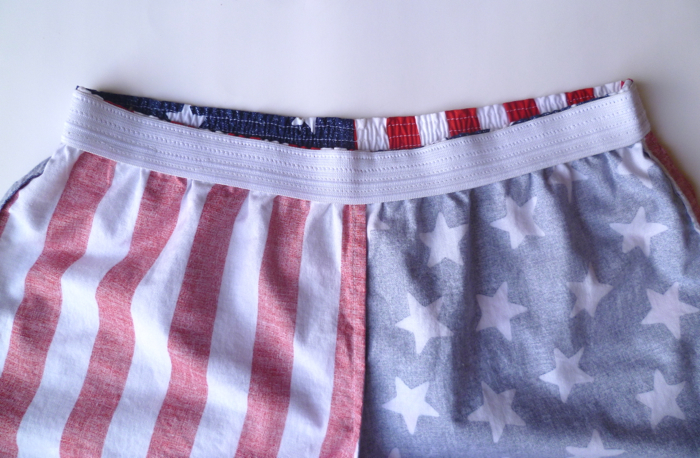
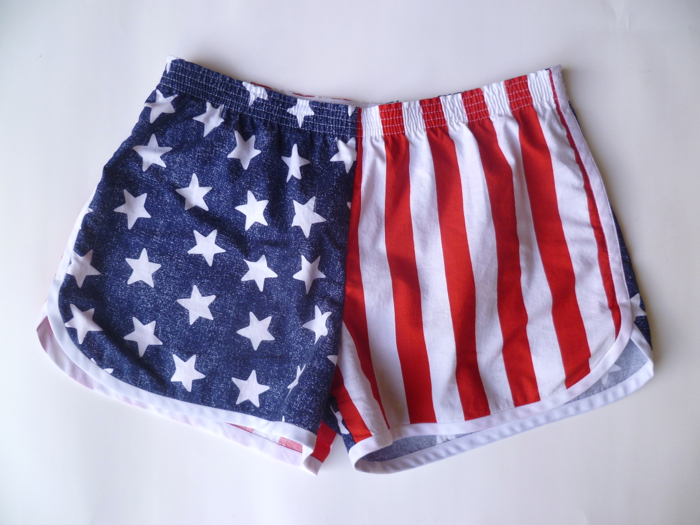 Now, I have to admit I am a little superstitious and I wore them on Tuesday for the US Men’s World Cup game against Belgium, and because we lost I think they might be bad luck. So I won’t be wearing them for any World Cup games in 2018, but I definitely plan on rocking them at least once this weekend and throughout the rest of the summer!
 Have you made any festive new frocks for the Fourth? Where do you plan on wearing them? I think a trip to the river and/or beach is on the agenda for me. The weather is supposed to be gorgeous here.
I hope you have a happy and safe holiday weekend!


