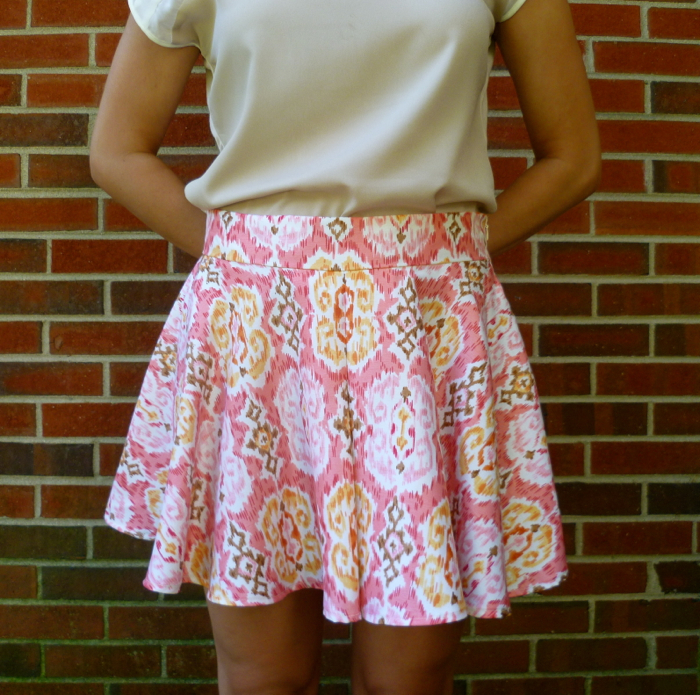
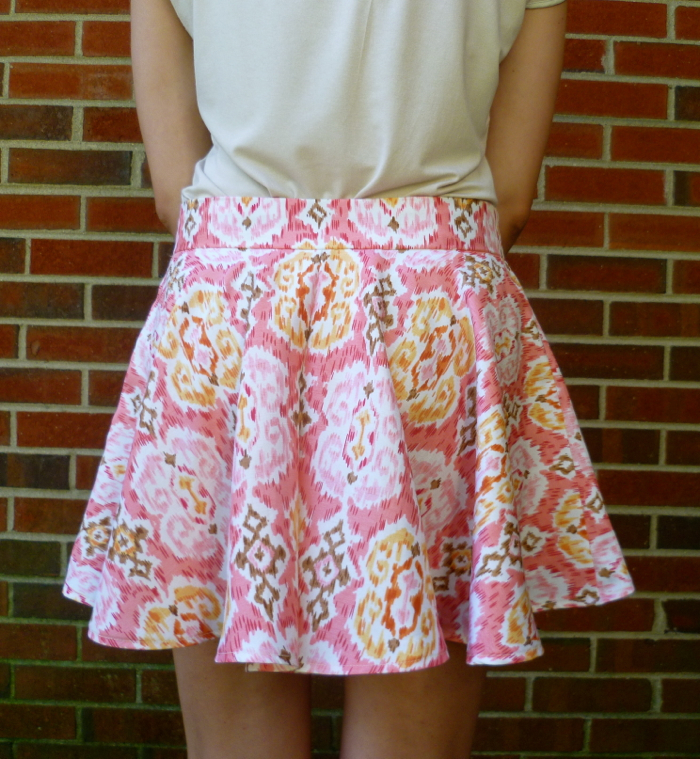
I guess I've always had a lot of clothes. Growing up, my mom loved to shop. I can still remember her dragging us to department stores, me and my sister throwing fits after we got bored of looking at the toys and clothes in our size. Her love of shopping definitely wore off on me, and once I started working, most (if not all) of the money I made was spent on clothes. I worked at Old Navy in high school and part of college, so I was constantly surrounded by clothes. Being at the mall on a regular basis with money in my pocket (and an employee discount) exponentially added to the size of my wardrobe. I was also no stranger to retail therapy; especially when I was in college and 6 hours away from my family, a trip to Target or the mall was the quickest way to cheer me up. After I left college and moved back home, I worked at an upscale lingerie boutique. I was no longer working at the mall (just across the street from it), but I still spent a good portion of my income on bras (that actually fit and were totally worth it) and cute clothes that were within the dressy casual dress code. Then I started working at the bank, and my shopping habits COMPLETELY changed. There was no mall within a 10 mile radius of my branch, but because my wardrobe was severely lacking in professional business wear, I was still buying new clothes. I did show a little restraint and told myself I wasn't going to buy anything that I couldn't wear to work. After an initial splurge because I was pretty much starting from nothing, I noticed my trips to the mall and clothes purchases start to dwindle. Maybe going to the mall was inconvenient and I didn't have as much time because I was working 40 hours a week, maybe shopping wasn't as fun because my options were much more limited, maybe not having an employee discount helped deter my spending. All of those factors probably contributed to the fact that now I only buy a couple new pieces each season, and I only go to the mall maybe once every 6 months. I pretty strictly stuck to my vow to only buy clothes I can wear to work (and the couple things I have bought that I couldn't are still hanging in my closet with the tags on, go figure!). Still, I can't fit all my sweaters, jeans and t-shirts into my dresser. I'm running out of hangers to hang my dresses, skirts, and tops in my closet. And I have stacks of clothes on my floor that I have no home for. 5 years ago, if you had told me I had too many clothes, I would have vehemently disagreed with you. Yes, I had a lot, but I needed all of them and I wore most of them. But today, I am finally admitting it: I have too many clothes.
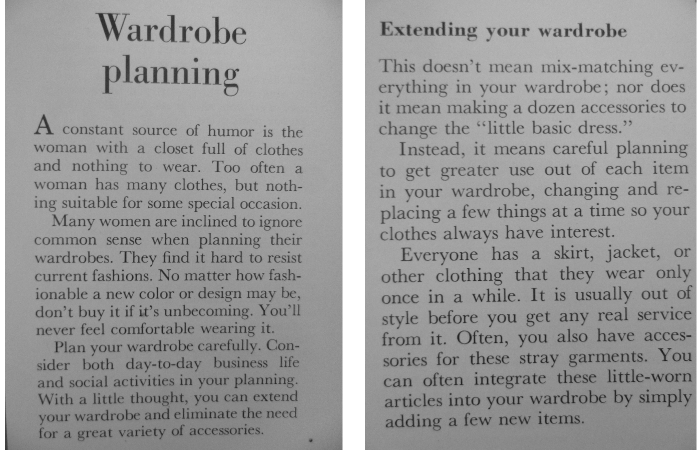
Words of Wisdom from the Better Homes and Gardens Sewing Book, published in 1961, from page 293.
Funny how some things never change.
Funny how some things never change.

At the end of March of this year, I quit my full time job at the bank. I am working part-time as an administrative assistant, and now that I have some extra time, I have been putting a lot more effort into learning to sew my own clothes. I sewed a few (ill-fitting) dresses when I was in high school, but my sewing since has been primarily bags, pillows, curtains, and even a bed skirt. But I truly believe nothing is more satisfying than making my own clothes. It would take a lot more than just a blog post to explain all my reasonings behind this statement, but this post pretty much sums it up. The last thing I want to do is invest time and effort into sewing a piece of clothing only to have it hang in my closet unworn, so making my own clothes has really forced me to examine my wardrobe and assess what types of clothes I already have, what types of clothes I have but don't wear, and any holes (things I don't have but want/need). I have found that all of my clothes can fit into one of these 6 categories:
1. Things I love and wear over and over: This one is pretty self-explanatory. These are the clothes I reach for every time they are clean and I would wear everyday if I could. They spend more time in the hamper than on the hanger because it is never long after I do laundry that they get worn.
2. Things I don't love but still wear on a regular basis: These are the clothes I wear because they are practical and/or comfortable and flattering, but I don't love them because of the color, pattern, or some other reason.
3. Things I like but don't wear because of fit issues or they need minor alterations: This one is also pretty self-explanatory. I like these clothes, but they are missing buttons, have small repairable holes, or minor fit issues, so they just hang in my closet, teasing me every time I get dressed.
4. Things I would wear, but only for certain occasions: For me these are mostly "dressing up" and "going out" clothes. They are a bit more risqué and/or formal than what I wear normally, but I hang on to them "just in case."
5. Things I never wear (and would never wear) but can't seem to get rid of: These are clothes that are no longer my "style" or are damaged beyond repair, but I am for some reason or another emotionally attached to the item and haven't been able to donate or throw it away. This also includes the few items I have that no longer fit (too big/small).
6. Things that I have ideas for "refashioning," but haven't taken the time to do so yet: These are items that I look at and see a way that I can make them better and more wearable, but they just sit neglected in a pile on my floor while I work on new and more exciting things.
1. Things I love and wear over and over: This one is pretty self-explanatory. These are the clothes I reach for every time they are clean and I would wear everyday if I could. They spend more time in the hamper than on the hanger because it is never long after I do laundry that they get worn.
2. Things I don't love but still wear on a regular basis: These are the clothes I wear because they are practical and/or comfortable and flattering, but I don't love them because of the color, pattern, or some other reason.
3. Things I like but don't wear because of fit issues or they need minor alterations: This one is also pretty self-explanatory. I like these clothes, but they are missing buttons, have small repairable holes, or minor fit issues, so they just hang in my closet, teasing me every time I get dressed.
4. Things I would wear, but only for certain occasions: For me these are mostly "dressing up" and "going out" clothes. They are a bit more risqué and/or formal than what I wear normally, but I hang on to them "just in case."
5. Things I never wear (and would never wear) but can't seem to get rid of: These are clothes that are no longer my "style" or are damaged beyond repair, but I am for some reason or another emotionally attached to the item and haven't been able to donate or throw it away. This also includes the few items I have that no longer fit (too big/small).
6. Things that I have ideas for "refashioning," but haven't taken the time to do so yet: These are items that I look at and see a way that I can make them better and more wearable, but they just sit neglected in a pile on my floor while I work on new and more exciting things.
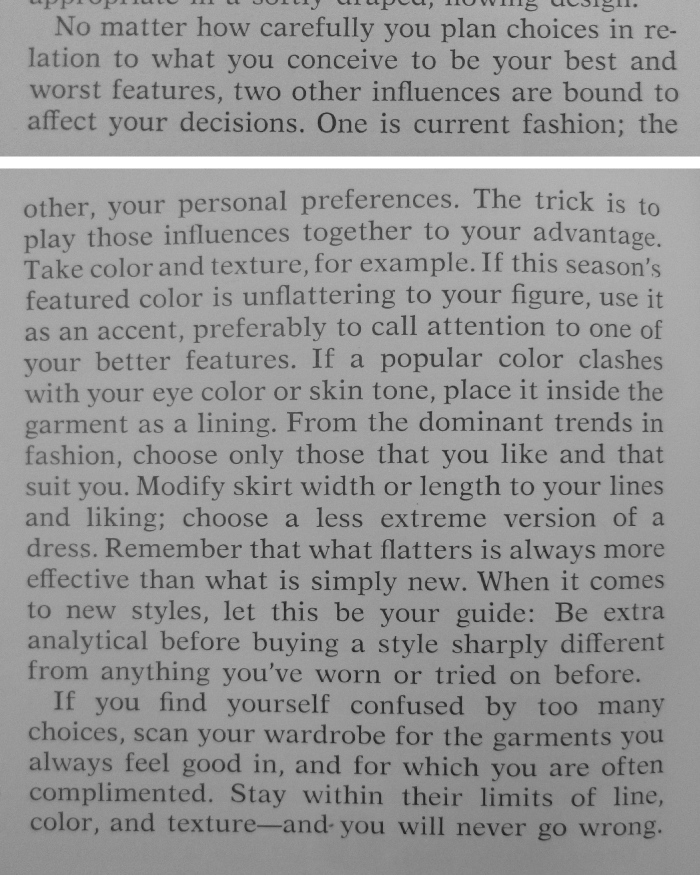
Great advice from Reader's Digest Complete Guide to Sewing, published in 1976, from page 50

In order to help me make more conscious decisions about what I decide to sew (and also what I decide to wear), I have come up with this game plan for cleaning and de-cluttering my closet:
Purge. I found this really great guide for a wardrobe detox on into-mind that includes everything I want to accomplish with this step. This should take care of #5, the stuff that has just been taking up space. I know this will be easier said than done because a lot of it will be overcoming emotional obstacles, but I'm going into it with the mindset of the more stuff I get rid of, the more room I have to make things I love. I also want to get rid of about 75% of #4 during the detox.
Fix and Mend. Once I have gotten rid of everything that I see as having no potential for fitting into my new and improved wardrobe, I'm going to conquer #3. Either I am going to sit down and fix whatever issue is keeping me from wearing it, or I am going to get rid of it. I'm thinking about taking this pile of clothes and dedicating one day to tackling it. I mean, it takes like 10 minutes to sew on a button, and I would rather just knock it all out in one day than let it lay around for weeks(months?years?) longer.
Recreate. Once I have all the easy fixes out of the way, I can focus on #6 and the things that are going to take a little bit more time to get them into rotation in my wardrobe. Realistically, this step will probably be an ongoing effort, since I will always rather reuse something I have than go out and buy something new (which is good for both my wallet and the environment). There are a few projects, though, that I know I want to tackle right away.
Create. The first three steps are all just paving the way for this, my most favorite one. Once I have the rest of the categories under control, I can focus on making more of the things I love to wear (items in #1) and filling in any holes. I also want to look at #2, and figure out why I wear it even though I don't love it, and what I can do to make it something I love or replace it with something I love.
I realize this isn't going to be a one and done process, and I will have to go back and repeat some steps from time to time. I think having it all laid out like this gives me a good starting point and a way to keep myself accountable. Plus, having a plan means I won't have to stop and think about my next move: more momentum = more likely it will actually get done and I can reclaim my closet/dresser/floor full of clothes!
Purge. I found this really great guide for a wardrobe detox on into-mind that includes everything I want to accomplish with this step. This should take care of #5, the stuff that has just been taking up space. I know this will be easier said than done because a lot of it will be overcoming emotional obstacles, but I'm going into it with the mindset of the more stuff I get rid of, the more room I have to make things I love. I also want to get rid of about 75% of #4 during the detox.
Fix and Mend. Once I have gotten rid of everything that I see as having no potential for fitting into my new and improved wardrobe, I'm going to conquer #3. Either I am going to sit down and fix whatever issue is keeping me from wearing it, or I am going to get rid of it. I'm thinking about taking this pile of clothes and dedicating one day to tackling it. I mean, it takes like 10 minutes to sew on a button, and I would rather just knock it all out in one day than let it lay around for weeks(months?years?) longer.
Recreate. Once I have all the easy fixes out of the way, I can focus on #6 and the things that are going to take a little bit more time to get them into rotation in my wardrobe. Realistically, this step will probably be an ongoing effort, since I will always rather reuse something I have than go out and buy something new (which is good for both my wallet and the environment). There are a few projects, though, that I know I want to tackle right away.
Create. The first three steps are all just paving the way for this, my most favorite one. Once I have the rest of the categories under control, I can focus on making more of the things I love to wear (items in #1) and filling in any holes. I also want to look at #2, and figure out why I wear it even though I don't love it, and what I can do to make it something I love or replace it with something I love.
I realize this isn't going to be a one and done process, and I will have to go back and repeat some steps from time to time. I think having it all laid out like this gives me a good starting point and a way to keep myself accountable. Plus, having a plan means I won't have to stop and think about my next move: more momentum = more likely it will actually get done and I can reclaim my closet/dresser/floor full of clothes!

If you're looking for some inspiration to tackle your overflowing closet or for building a wardrobe you love, I've listed some resources that inspired me to tackle my out of control wardrobe, as well as some food for thought on the state of fashion today.
The Wardrobe Architect - This excellent 14 part blog series will help you get down to the roots of your personal style and build a capsule wardrobe of clothes you will actually wear. Just skimming through Sarai's posts got me thinking about what it is that makes my favorite clothes my favorites and ways I can make my wardrobe more versatile with less pieces.
into-mind - This amazing website is dedicated entirely to "personal style, minimalism, and the perfect wardrobe." Along with the detox I mentioned earlier, this post about building a capsule wardrobe is a must read. I could spend hours on this site, there is just SO MUCH excellent information.
The Outbox - While not directly wardrobe related, I love this idea for setting up an outbox from Apartment Therapy's January Cure series. In fact, this whole series is awesome and who knows, after I'm done with my closet I might start to tackle the rest of the house!
A Considered Wardrobe - Maddie wrote this wonderful piece about fashion and sewing, and how much thought and consideration goes into building a wardrobe you love. Make sure you check out the rest of her blog, Madalynne, while you are there. Everything she does is just lovely.
Fast Fashion and Fast Sewing - I found this other short piece by Maddie extremely thought-provoking. I have so much to say about this topic, but I'll just let you read it and draw your own conclusions.
Overdressed - I ordered this book from Amazon last week and I CAN NOT WAIT for it to get here (I bought it used, so yay! environment, not yay for no Prime 2-day shipping). I read the first chapter with the little preview thing and I already know I am going to love it. Just reading the description makes me rethink my perspective on some of the "affordable" items in my wardrobe.
I know I've touched on a ton of different topics today, what are your thoughts about fashion, sewing, or wardrobe planning? Any tips or tricks for de-cluttering or organizing closets? I'd love to hear about them!
The Wardrobe Architect - This excellent 14 part blog series will help you get down to the roots of your personal style and build a capsule wardrobe of clothes you will actually wear. Just skimming through Sarai's posts got me thinking about what it is that makes my favorite clothes my favorites and ways I can make my wardrobe more versatile with less pieces.
into-mind - This amazing website is dedicated entirely to "personal style, minimalism, and the perfect wardrobe." Along with the detox I mentioned earlier, this post about building a capsule wardrobe is a must read. I could spend hours on this site, there is just SO MUCH excellent information.
The Outbox - While not directly wardrobe related, I love this idea for setting up an outbox from Apartment Therapy's January Cure series. In fact, this whole series is awesome and who knows, after I'm done with my closet I might start to tackle the rest of the house!
A Considered Wardrobe - Maddie wrote this wonderful piece about fashion and sewing, and how much thought and consideration goes into building a wardrobe you love. Make sure you check out the rest of her blog, Madalynne, while you are there. Everything she does is just lovely.
Fast Fashion and Fast Sewing - I found this other short piece by Maddie extremely thought-provoking. I have so much to say about this topic, but I'll just let you read it and draw your own conclusions.
Overdressed - I ordered this book from Amazon last week and I CAN NOT WAIT for it to get here (I bought it used, so yay! environment, not yay for no Prime 2-day shipping). I read the first chapter with the little preview thing and I already know I am going to love it. Just reading the description makes me rethink my perspective on some of the "affordable" items in my wardrobe.
I know I've touched on a ton of different topics today, what are your thoughts about fashion, sewing, or wardrobe planning? Any tips or tricks for de-cluttering or organizing closets? I'd love to hear about them!